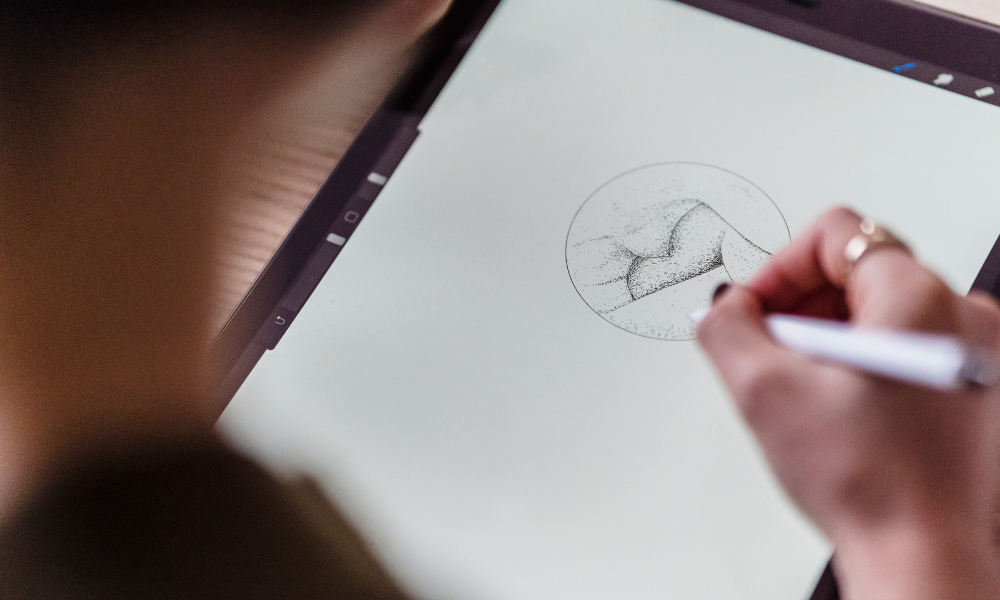
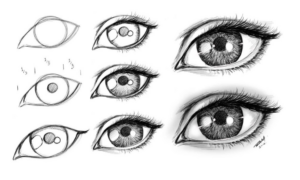
Digital drawing has revolutionized the way artists create, offering a multitude of tools and techniques that can replicate traditional art forms while also introducing new possibilities. Whether you’re a beginner or an experienced artist looking to refine your skills, understanding the basic tools, layers, and blending modes is essential for creating stunning digital artwork. This blog will explore these fundamental aspects of digital drawing, providing insights and tips to enhance your creative process.
Basic Tools
The foundation of digital drawing lies in the tools available in your software. Most digital art programs, such as Adobe Photoshop, Procreate, Corel Painter, and Krita, offer a variety of brushes and tools that mimic traditional media. Here are some of the essential tools you should familiarize yourself with:
1. Brush Tool
The brush tool is arguably the most important tool for any digital artist. It allows you to create lines, shapes, and textures in your artwork. Different brushes can produce various effects, from fine lines to broad strokes, and can simulate traditional brushes like pencils, oils, or watercolors.
- Customization: Most programs allow you to customize brush settings, including size, opacity, flow, and texture. Experimenting with these settings can lead to unique results and a personal style.
2. Eraser Tool
The eraser tool is crucial for refining your artwork. It can help correct mistakes or create highlights and textures. Just like brushes, erasers come in different shapes and sizes, offering varied effects.
- Layer-Specific Erasing: Use the eraser on a specific layer to maintain the integrity of other elements in your composition. This flexibility is one of the key advantages of digital art.
3. Selection Tool
Selection tools allow you to isolate specific areas of your artwork for editing. Common selection tools include rectangular and elliptical selections, lasso tools, and magic wand tools.
- Precision Editing: Use these tools to modify colors, add effects, or adjust specific sections of your drawing without affecting the entire image.
4. Gradient and Fill Tools
These tools are essential for adding depth and color to your artwork. The gradient tool allows you to create smooth transitions between colors, while fill tools help you quickly color in areas of your drawing.
- Layer Effects: Applying gradients and fills on different layers can create interesting effects and enhance the overall look of your artwork.
5. Text Tool
Incorporating text can add another dimension to your digital artwork. Most digital art programs include text tools that let you customize fonts, sizes, and styles.
- Creative Typography: Use the text tool to incorporate quotes, titles, or other elements that complement your artwork, enhancing the narrative or message you want to convey.
Layers
Layers are one of the most powerful features in digital art software. They allow you to work on different elements of your drawing independently, providing flexibility and control over your composition.
1. Understanding Layers
Think of layers as transparent sheets stacked on top of each other. Each layer can contain different elements of your artwork, such as backgrounds, characters, or effects. This separation allows for non-destructive editing, meaning you can modify one layer without affecting the others.
- Organizing Layers: Name your layers and group them logically (e.g., background, characters, details) to keep your workspace organized. This organization can save you time and frustration as your project grows.
2. Layer Types
Different types of layers serve specific functions in your artwork:
- Raster Layers: These layers are pixel-based and are used for painting and drawing. They are ideal for creating detailed images and textures.
- Vector Layers: Vector layers are based on mathematical equations and are used for creating scalable graphics. They are great for clean lines and shapes.
- Adjustment Layers: These layers allow you to apply effects like brightness, contrast, and color adjustments without permanently altering the original artwork.
3. Layer Modes
Understanding layer modes is essential for manipulating how layers interact with one another. Each mode affects the way colors and tones blend between layers, enabling you to create unique effects.
- Common Layer Modes:
- Normal: The default mode where colors are displayed as they are.
- Multiply: Darkens colors by multiplying the base color by the blend color, resulting in deeper shadows.
- Screen: Lightens colors by inverting, multiplying, and inverting again, creating bright highlights.
- Overlay: Combines Multiply and Screen modes, enhancing contrast and depth.
Blending Modes
Blending modes further expand your creative options by altering how colors and layers interact. By selecting different blending modes for your layers, you can achieve various effects that can enhance the visual appeal of your artwork.
1. How Blending Modes Work
Blending modes change the way the colors of two layers blend based on their brightness and color values. By experimenting with these modes, you can create textures, highlights, and shadows that would be challenging to achieve with traditional tools.
- Creating Textures: Use texture images or patterns on a separate layer and apply different blending modes to create interesting surface effects in your artwork.
2. Popular Blending Modes
Here are a few popular blending modes and their effects:
- Multiply: Great for adding shadows or darkening areas. This mode is useful when creating depth in illustrations or shading.
- Screen: Ideal for highlights and adding luminosity. It can also create soft glows or light effects in your artwork.
- Overlay: Enhances contrast while preserving highlights and shadows. This mode is often used for adding texture or detail without losing the base image’s integrity.
- Soft Light: Similar to Overlay but produces a gentler effect. It can add subtle highlights or shadows, making it perfect for skin tones or atmospheric effects.
Tips for Effective Digital Drawing
- Practice Regularly: The more you practice using these tools, layers, and blending modes, the more comfortable you will become. Regular practice helps you develop your style and technique.
- Experiment: Don’t be afraid to experiment with different brushes, blending modes, and layer styles. This exploration can lead to unique discoveries and creative breakthroughs.
- Use References: Reference images can guide your proportions, colors, and overall composition. Study various art styles to inspire your own work.
- Seek Feedback: Share your artwork with friends or online communities. Constructive feedback can provide valuable insights and help you improve.
- Save Versions: As you work, save different versions of your artwork. This way, you can revisit earlier stages if needed or explore alternative designs without losing your progress.
Conclusion
Digital drawing is an exciting and versatile medium that opens up countless possibilities for creativity. By mastering basic tools, understanding layers, and experimenting with blending modes, you can significantly enhance your digital art skills. Whether you’re illustrating characters, creating landscapes, or designing graphics, these foundational techniques will empower you to produce stunning artwork. So grab your tablet, explore these tools, and let your imagination flow!


