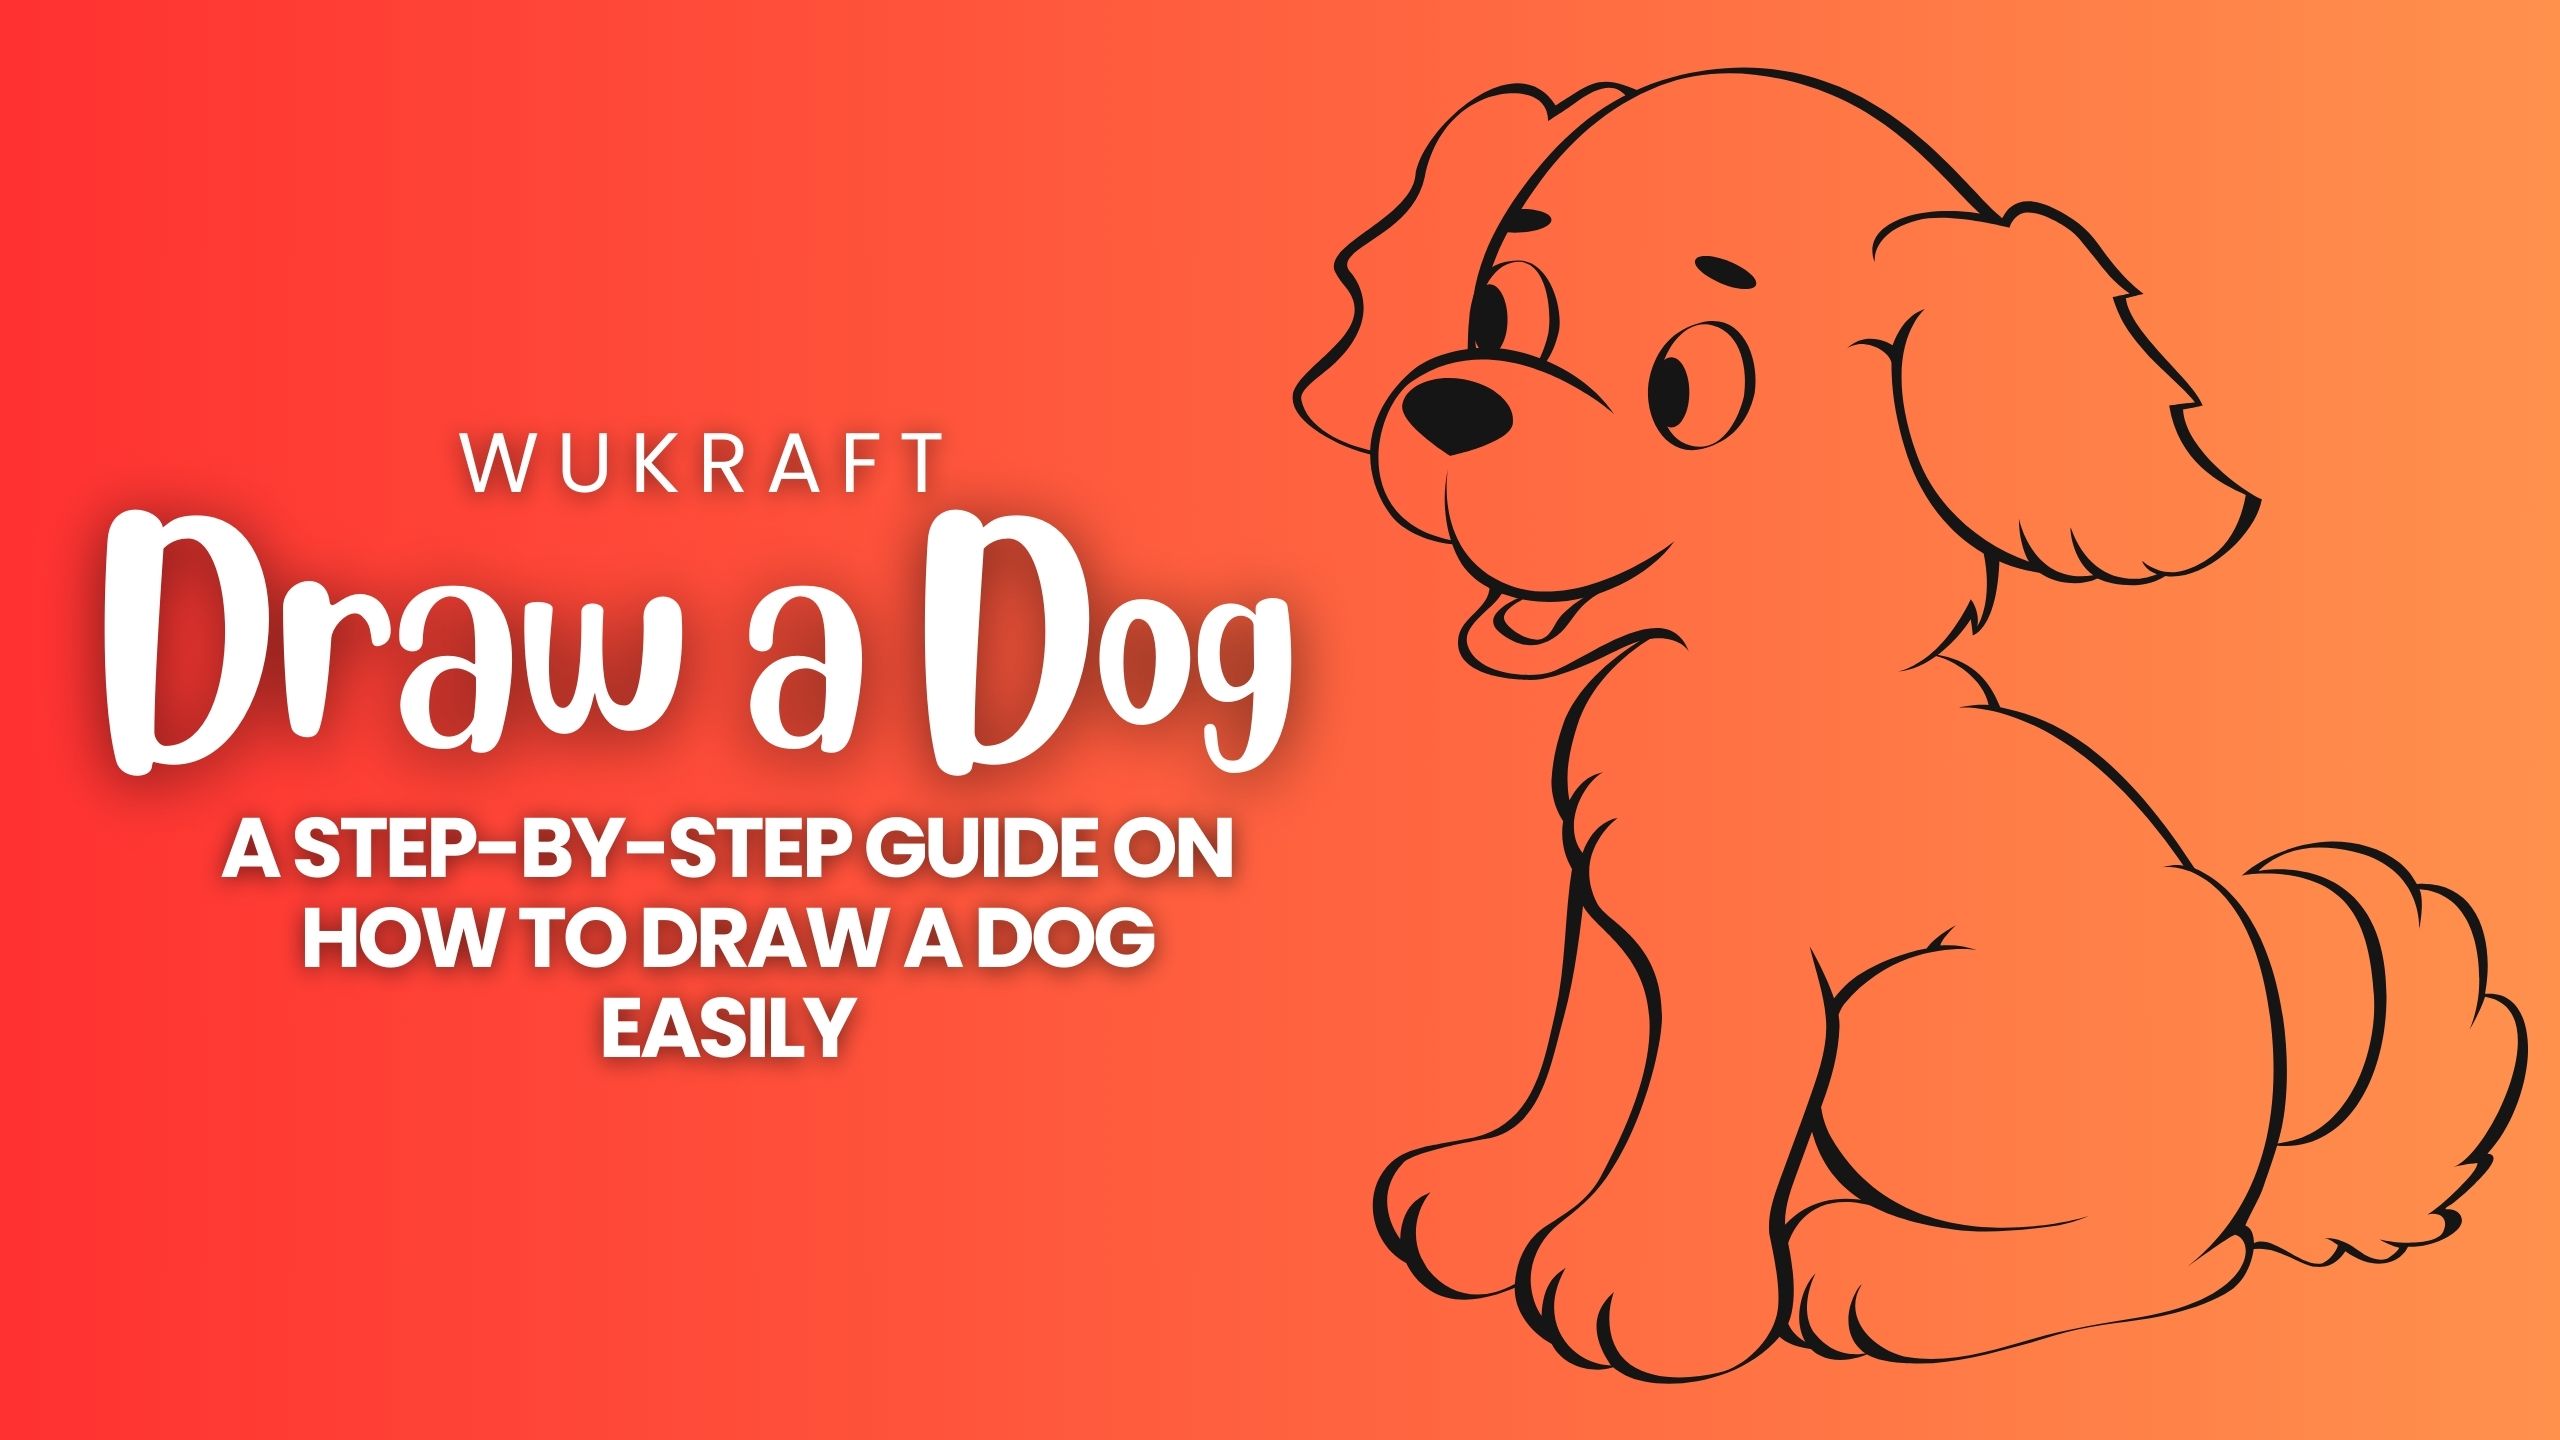
Embarking on the artistic journey of drawing can be a rewarding and enjoyable experience, especially when your subject is as universally beloved as a dog. Whether you’re a seasoned artist or just picking up a pencil for the first time, this step-by-step guide is designed to make drawing a dog easy and accessible for everyone.
The joy of drawing lies not just in the final result but also in the process itself. With a few basic shapes and some creative flair, you can bring a charming canine companion to life on paper. In this detailed guide, we’ll break down the steps, offering clear instructions and helpful tips to ensure your drawing experience is both educational and fun.
So, gather your materials – a piece of paper, a pencil, and an eraser – and let’s embark on a creative journey where you’ll learn to capture the essence of man’s best friend with simplicity and style. Whether you’re creating a quick sketch or diving into a more detailed illustration, the following steps will guide you through the process of drawing a dog with ease. Get ready to unleash your artistic potential and create a delightful canine masterpiece!
Step 1: Start with Basic Shapes
The journey of drawing a dog begins with the fundamental building blocks – basic shapes. This initial step is crucial as it sets the stage for the entire illustration, providing a skeletal structure that guides the placement and proportions of your furry companion. Here’s a detailed breakdown to ensure you start on the right paw:
Head Oval:
- Begin by sketching a medium-sized oval at the top center of your paper. This oval represents the head of your dog. Experiment with the shape, as different breeds have varying head shapes—some more circular, while others may be slightly elongated. This initial oval serves as a guide and allows you to envision the direction your dog will be facing.
Body Oval or Circle:
- Directly beneath the head, draw a larger oval or circle to create the body. Consider the size of the body in relation to the head, keeping in mind the breed and size of your imaginary or real-life canine subject. Connect the head and body with a graceful, curved line for the neck. This line’s curvature can suggest the dog’s posture, adding character even at this early stage.
Reference Lines:
- To ensure symmetry and accurate placement of facial features, draw a straight, vertical line down the center of the head oval. This line acts as a guide, helping you position the eyes, nose, and mouth symmetrically. It’s a valuable tool for maintaining balance in your drawing. The symmetry in this step creates a foundation for a realistic or stylized representation of your dog.
Adjustment and Flexibility:
Don’t be afraid to experiment and make adjustments. The beauty of starting with basic shapes is the flexibility it offers. If the proportions don’t seem right, feel free to refine the shapes until you’re satisfied. Light, loose lines are your friends at this stage—they allow for easy erasing and modification as you progress through the drawing.
Visualizing the Structure:
Envision your dog in three dimensions. Picture how the head connects to the neck and how the body extends from the neck. These basic shapes serve as the underlying structure that will support the details added in subsequent steps. Take your time in this initial phase, as a well-established foundation will make the rest of the drawing process more enjoyable and successful.
Step 2: Adding Facial Feature
Now that the skeletal structure of your dog is in place, it’s time to breathe life into your creation by focusing on one of the most expressive parts— the face. Adding facial features not only defines your dog’s personality but also brings depth and emotion to your illustration. Let’s delve into the intricacies of this step:
Eyes:
- Begin by placing two small circles on either side of the vertical line within the head oval. These circles will serve as the eyes. Experiment with different shapes and sizes, as the eyes play a pivotal role in conveying the dog’s emotions. Larger, round eyes often convey innocence and friendliness, while smaller or almond-shaped eyes can suggest alertness or curiosity.
Nose:
- Just below the eyes, position a small triangle for the nose. Depending on the breed, the nose shape may vary. For instance, some dogs have button-like noses, while others may have broader, more prominent ones. The nose placement is crucial in determining the facial expression, so take a moment to consider the desired look for your dog.
Mouth:
- Extend a curved line below the nose to form the mouth. The shape and size of the mouth contribute significantly to the dog’s expression. Play around with different curves to create smiles, neutral expressions, or even a playful look. Adding a slight upward curve at the ends can give the impression of a happy and content canine.
Ears:
- Dogs boast a wide variety of ear shapes, so choose the one that complements your vision. Common styles include floppy ears, pointy ears, or ears that stand erect. Position the ears on either side of the head, paying attention to symmetry. The placement and orientation of the ears can influence the dog’s perceived mood and breed characteristics.
Further Detailing:
Refine the eyes by adding pupils, highlights, and maybe some shading to convey depth. Consider adding eyebrows or fur tufts above the eyes for extra character. Don’t hesitate to experiment with different nose and mouth shapes to achieve the expression you desire. Dogs come in all shapes and sizes, and this is your opportunity to infuse your drawing with a unique personality.
Symmetry and Balance:
Keep an eye on symmetry when adding facial features. The vertical line drawn in Step 1 acts as a reference to maintain balance in the placement of eyes, nose, and mouth. Symmetry contributes to a more realistic and aesthetically pleasing representation.
Expression Matters:
The magic of drawing a dog lies in capturing its personality. The combination of eye shape, nose position, and mouth curvature can convey a wide range of emotions, from excitement to contentment. Take your time to experiment with different facial expressions until you find the one that resonates with the character you envision.
Step 3: Outline the Ears and Tail
As your dog takes shape, it’s time to pay attention to two defining features that contribute immensely to its character— the ears and the tail. These elements not only add visual interest but also play a significant role in portraying the unique qualities of different breeds. Let’s delve into the intricacies of outlining these distinctive features:
Ears:
- Dogs boast an incredible array of ear shapes, from long and floppy to short and pointed. Consider the breed or create your own unique combination. Outline the chosen ear shape on either side of the head, ensuring they align with the overall proportions of the dog. Experiment with variations—rounded tips for a friendly look, pointed tips for alertness, or folded ears for a more laid-back appearance.
Tail:
- The tail is another expressive feature that can communicate your dog’s mood and energy. Depending on the breed or your artistic preference, tails can be straight, curly, or wagging in excitement. Extend a line from the back of the body, determining the length and shape of the tail. Consider the natural tail characteristics of the breed you have in mind. For instance, a curled tail might be suitable for a playful dog, while a straight tail could convey a calm demeanor.
Attention to Proportions:
As you outline the ears and tail, keep an eye on proportions. Ensure that the size and positioning of these features align with the overall scale of the dog. A well-proportioned set of ears and a tail that complements the body contribute to a harmonious and realistic depiction.
Adding Texture:
To enhance the realism of your drawing, consider adding some texture to the ears and tail. Dogs often have fur that varies in length and density, creating a soft and fluffy appearance. Use short, overlapping lines to suggest fur, paying attention to the direction in which the fur naturally flows. This subtle detailing can elevate your drawing, adding a touch of authenticity.
Considering Breed Characteristics:
Different breeds have distinct ear and tail characteristics. Research or visualize the specific traits of the breed you’re drawing to ensure accuracy. Whether it’s the long, droopy ears of a Basset Hound or the curled tail of a Shiba Inu, these details contribute to the visual storytelling of your illustration.
Dynamic Poses:
If you want to add dynamism to your drawing, consider experimenting with the position of the tail. A wagging tail or a raised tail can convey excitement, while a lowered tail might suggest a more reserved or cautious demeanor.
Step 4: Define the Body
With the head, facial features, ears, and tail outlined, your dog is beginning to take on a distinct personality. Now, let’s delve into defining the body—a pivotal step that gives your illustration depth and form. This phase not only establishes the dog’s overall shape but also sets the stage for adding legs, paws, and additional details. Here’s a comprehensive guide to Step 4:
Neck and Torso:
- Begin by refining the neck, ensuring it flows smoothly from the head to the body. Pay attention to the curvature, keeping it natural and complementary to the dog’s pose. Connect the neck to the body with a graceful line, outlining the torso. Consider the breed and size of your dog; adjust the proportions accordingly. Dogs come in various shapes, from slender and athletic to more robust and muscular.
Leg Placement:
- Visualize the pose you want for your dog and sketch the legs accordingly. For a standing pose, draw the front legs straight down from the body, adding a slight curve for a natural stance. The hind legs can be drawn slightly angled backward to convey stability. If you’re aiming for a seated or playful pose, adjust the leg positioning accordingly. Remember, the front legs are typically shorter than the hind legs.
Paws:
- Define the paws by adding small circles at the end of each leg. These circles represent the base of the paws and provide a foundation for adding the toes. Depending on the pose, you can adjust the angle of the paws to convey movement or stillness. For a seated dog, the paws may rest flat on the ground, while in an active pose, they may be slightly lifted.
Tail Integration:
- Ensure a seamless integration of the tail with the body. The tail should emerge naturally from the back, contributing to the overall balance of the illustration. Consider the relationship between the tail and the body shape, adjusting the curves and lines to maintain a harmonious flow.
Maintaining Consistency:
Throughout this step, it’s crucial to maintain consistency in your chosen style and the overall proportions of your drawing. The body should align with the head, ears, and tail in a way that feels cohesive. Regularly step back and assess your progress to ensure a balanced and visually appealing composition.
Muscle Definition:
If you desire a more detailed illustration, consider adding subtle lines to define muscles and contours. This is especially effective for breeds with a more muscular build. However, keep these lines light and unobtrusive, as the goal is to enhance realism without overshadowing the charm of your drawing.
Experimenting with Poses:
The beauty of drawing your dog lies in the ability to experiment with different poses. Whether your dog is standing proudly, sitting attentively, or in mid-play, the pose contributes significantly to its character. Feel free to explore various positions until you find the one that resonates with the personality you envision.
Step 5: Refine the Details
Now that the foundational elements are in place, it’s time to delve into the intricate details that will make your dog illustration truly come to life. Refining the details involves adding depth, texture, and character to your drawing. This step allows you to polish your canine companion and infuse it with personality. Let’s explore the nuanced art of refining the details:
Fur Texture:
- Dogs boast a rich variety of fur textures, from short and sleek to long and fluffy. To capture the essence of fur, use short, overlapping lines in the direction of the natural hair growth. This technique creates a sense of depth and texture, enhancing the realism of your drawing. Experiment with the density of lines in different areas, such as emphasizing fluffiness around the neck or creating a sleeker appearance on the body.
Facial Expressions:
- Fine-tune the facial features to convey the specific emotion or personality you envision for your dog. Adjust the shape of the eyes, the curvature of the mouth, and the positioning of the eyebrows to capture expressions ranging from joy and excitement to curiosity or calmness. A subtle shift in these details can significantly influence the overall mood of your illustration.
Eye Details:
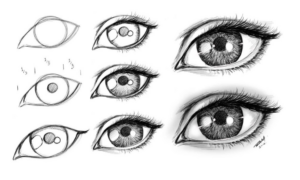
- Eyes are windows to the soul, even in the world of illustration. Add pupils, highlights, and shading to bring depth and vitality to the eyes. Experiment with the size and placement of the pupils to achieve the desired gaze. A well-crafted eye can instantly make your dog appear more lifelike and engaging.
Nose and Mouth:
- Refine the nose by adding subtle shading and contours. Consider the texture of the nose—whether it’s moist or dry—and adjust your shading accordingly. For the mouth, refine the curves to create a natural and expressive smile. Add small details like a hint of tongue or teeth for an extra touch of realism.
Ear Details:
- Elaborate on the ears by defining the inner structure and adding fur details. Depending on the breed, ears can have various characteristics, such as folds, tufts, or a smooth surface. Pay attention to these nuances to capture the unique charm of your chosen breed or create a custom look for your imaginary dog.
How to Draw a Dog Real Easy – Step by Step – Spoken Instructions
Tail Finishing:
- Give attention to the tail by refining its shape and adding texture. Depending on the breed or the dog’s mood, the tail can be bushy, sleek, or even wagging. Ensure that the tail integrates seamlessly with the body, maintaining a natural flow.
Legs and Paws:
- Detail the legs by adding muscle definition and subtle lines to suggest fur. Refine the paws by shaping the toes and adding small details like paw pads. Consider the perspective—front paws may show more detail, while hind paws may be slightly obscured, depending on the pose.
Collar and Tags (Optional):
- If you want to add extra flair, consider drawing a collar around the dog’s neck. You can embellish the collar with tags or accessories, offering an opportunity to inject more personality into your illustration.
Balancing Realism and Style:
Strive for a balance between realism and your chosen artistic style. While details enhance the authenticity of your drawing, it’s essential to maintain the charm and simplicity that make your dog illustration visually appealing.
Step Back and Assess:
Periodically step back from your drawing to assess the overall composition. This helps you identify areas that may need adjustments and ensures that the details you’re adding contribute cohesively to the overall visual narrative.
Step 6: Erase Guidelines
With the intricate details meticulously added, your dog illustration is nearing completion. Step 6 involves the crucial task of erasing the guidelines and initial shapes, transforming your sketch into a clean, polished masterpiece. This step not only enhances the visual appeal but also emphasizes the refined details you’ve worked hard to incorporate. Let’s delve into the nuanced process of erasing guidelines:
Light Erasing:
- Utilize a soft eraser or gently apply pressure to avoid damaging the paper. The goal is to remove the initial guidelines while preserving the intricate details and shading you’ve added. Light, careful strokes ensure that your refined drawing remains intact.
Head and Facial Features:
- Begin with the head, erasing the initial oval and vertical guideline. Pay close attention to the facial features, ensuring that the eyes, nose, mouth, and ears maintain their well-defined shapes. Take your time to maintain the integrity of the facial expressions you’ve crafted.
Body and Limbs:
- Gradually move to the body, neck, and limbs, erasing the underlying shapes. Be mindful of the delicate details you’ve added to define the body, legs, and paws. The goal is to reveal the clean outline of your dog while retaining the intricate nuances that bring it to life.
Tail Integration:
- Focus on the tail, ensuring that it seamlessly integrates with the body. Erase any remaining guidelines, refining the curvature and texture of the tail. This step accentuates the natural flow of your dog’s silhouette.
Fur Texture and Details:
- Pay special attention to areas where you’ve added fur texture and fine details. The erasing process should enhance the texture and give your dog a polished appearance. If some guidelines are stubborn, use a kneaded eraser or a fine-tip eraser for precision.
Maintaining Consistency:
As you erase guidelines, be mindful of maintaining consistency in line thickness and shading. This step contributes to the overall cohesiveness of your drawing. Double-check the proportions and balance to ensure that your dog retains its charming and lifelike qualities.
Gradual Approach:
Take a gradual approach to erasing, periodically assessing your drawing to ensure that you’re achieving the desired effect. This step requires patience, as you refine each section to unveil the clean, detailed image you’ve crafted.
Background Consideration (Optional):
If you plan to add a background, consider how it will complement your dog illustration. This is an opportune time to think about whether a simple background, such as grass or a floor, will enhance the overall presentation.
Final Assessments:
Once the majority of guidelines are erased, step back and evaluate your drawing. This is the perfect time to make any final adjustments or refinements before moving on to the last steps.
Learn more about how to draw a dog easily…
If you’re eager to explore more tips and techniques for unleashing your artistic skills in drawing dogs, be sure to check out our companion blog: “Mastering Canine Portraits: A Comprehensive Guide to Drawing Dogs with Ease.” In this complementary resource, we delve deeper into specific breeds, advanced detailing, and even tackle dynamic poses, providing you with a wealth of knowledge to elevate your canine illustrations to the next level.
Whether you’re a beginner seeking foundational guidance or an experienced artist aiming to refine your craft, our comprehensive guide is designed to cater to all skill levels. Dive into the world of dog drawing, unlock your creativity, and bring your furry friends to life on paper with confidence.
Happy drawing!
Watch this tutorial to know more about how to draw a dog easily:
Conclusion:
Drawing a dog can be an immensely rewarding and enjoyable artistic endeavor, especially when approached with a step-by-step guide designed for ease and accessibility. In this comprehensive journey, we’ve explored each stage of the process, breaking down the intricacies of transforming a blank canvas into a delightful canine companion.
As you stand on the threshold of completing your dog drawing, remember that each stroke and detail reflects your creativity and dedication. Whether you’re a beginner or an experienced artist, the journey of drawing a dog is not just about the final result—it’s about the joy of creation, the process of learning, and the satisfaction of bringing imagination to paper.
So, armed with newfound knowledge and inspiration, go ahead—unleash your creativity, embark on more artistic adventures, and continue to fill your canvas with the vibrant spirit of man’s best friend. Happy drawing!


