Sketching a dog can seem daunting at first, but by breaking the process down into manageable steps, anyone can learn to create a realistic and expressive drawing. This guide will take you through the process step by step, from the initial shapes to the final details.
Materials You’ll Need:
- Drawing paper
- Pencils (HB for sketching, 2B or 4B for shading)
- Eraser
- Sharpener
Step 1: Gather Reference Images
Before you start sketching, gather some reference images of dogs. Choose a breed or type of dog you want to draw, and find clear images from different angles. This will help you understand the anatomy and proportions of the dog.
Step 2: Basic Shapes
Start with the basic shapes that form the dog’s body. Use light, loose lines to sketch these shapes.
- Head: Draw an oval or circle where you want the head to be.
- Body: Draw a larger oval for the body, positioned slightly to the side of the head.
- Muzzle: Draw a smaller oval or rectangle attached to the head for the muzzle.
- Ears: Add triangles or elongated shapes on top of the head for the ears.
- Legs: Use straight lines to indicate the position of the legs. The front legs will be straight down from the chest, and the back legs will bend slightly at the knees.
- Tail: Add a curved line for the tail, adjusting its length and position according to the breed.
Step 3: Refine the Shapes
Now, refine the basic shapes to better represent the dog’s anatomy.
- Head and Muzzle: Define the jawline and add a curve where the muzzle connects to the head. Adjust the shape of the ears to make them more realistic.
- Body: Smooth out the connections between the head, body, and legs. Make sure the body shape looks natural and proportional.
- Legs: Add joints to the legs, including the elbows, knees, and paws. Ensure the legs are consistent in size and shape.
- Tail: Refine the shape of the tail, considering its thickness and curvature.
Step 4: Add Facial Features
Now, focus on the dog’s face.
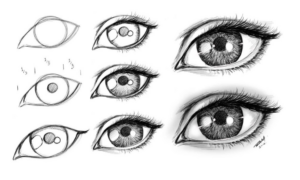
- Eyes: Draw the eyes on either side of the muzzle. Dogs’ eyes are generally almond-shaped. Add pupils and small reflections to give the eyes life.
- Nose: Place the nose at the tip of the muzzle. It should be a rounded triangle shape with nostrils.
- Mouth: Sketch a line below the nose for the mouth. Dogs often have a subtle smile or a straight line.
- Ears: Detail the inside of the ears, adding folds and shadows.
Step 5: Add Fur Texture
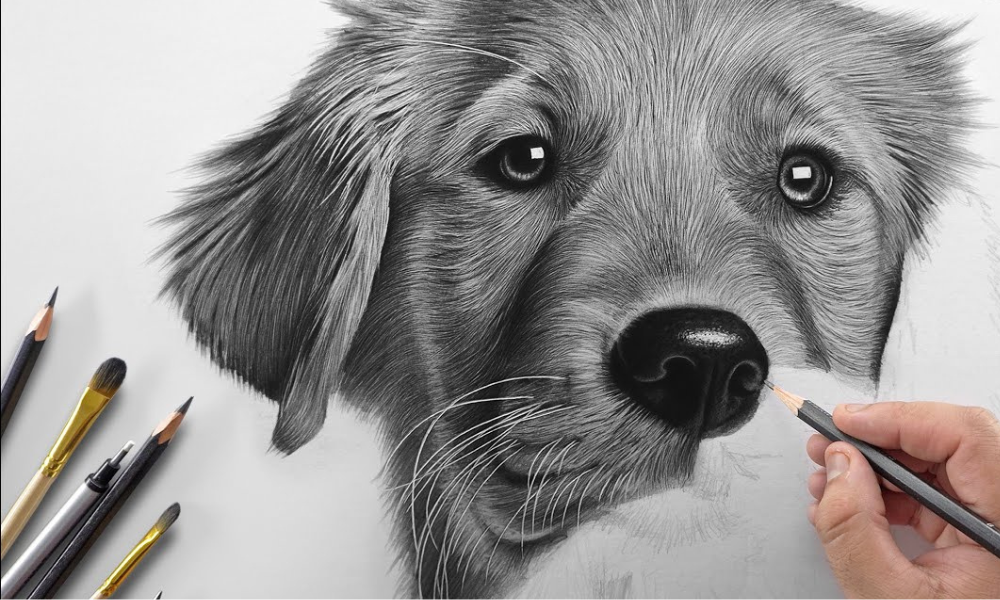
Start adding the fur texture. Fur direction follows the contours of the dog’s body.
- Short Fur: Use short, quick strokes for dogs with short fur, following the direction of hair growth.
- Long Fur: For long-haired dogs, use longer, more flowing lines to indicate the fur’s length and direction.
- Face and Ears: Pay special attention to the fur around the face and ears, as this often has more detail.
Step 6: Shading and Details
Now it’s time to add depth and realism through shading and details.
- Shading: Identify the light source in your drawing. Add shadows on the opposite side of the light source to give the dog a three-dimensional appearance. Use a blending tool or your finger to soften the shadows.
- Fur Detail: Enhance the fur texture by adding more detailed strokes in areas where the fur is more prominent.
- Eyes: Darken the pupils and add highlights to make the eyes look more realistic.
- Nose and Mouth: Add texture and shading to the nose and around the mouth.
Step 7: Final Touches
Review your sketch and add any final touches to complete the drawing.
- Erasing Guidelines: Lightly erase any remaining guidelines or construction lines.
- Enhancing Contrast: Strengthen the darkest areas to enhance the overall contrast of the sketch.
- Adding Whiskers: Use quick, light strokes to add whiskers around the muzzle.
Tips for Sketching Dogs:
- Practice Regularly: The more you draw, the better you’ll get. Practice sketching different breeds and poses.
- Study Anatomy: Understanding the underlying anatomy of dogs will help you create more accurate and lifelike sketches.
- Use References: Always use reference images to guide your sketches. This helps with proportions and details.
- Be Patient: Drawing can be a slow process. Take your time and don’t rush through the steps.
Conclusion
Sketching a dog involves understanding the basic shapes, refining those shapes, and adding details and shading to bring the drawing to life. By following this step-by-step guide and practicing regularly, you’ll improve your skills and be able to create realistic and expressive dog sketches. Happy drawing!


