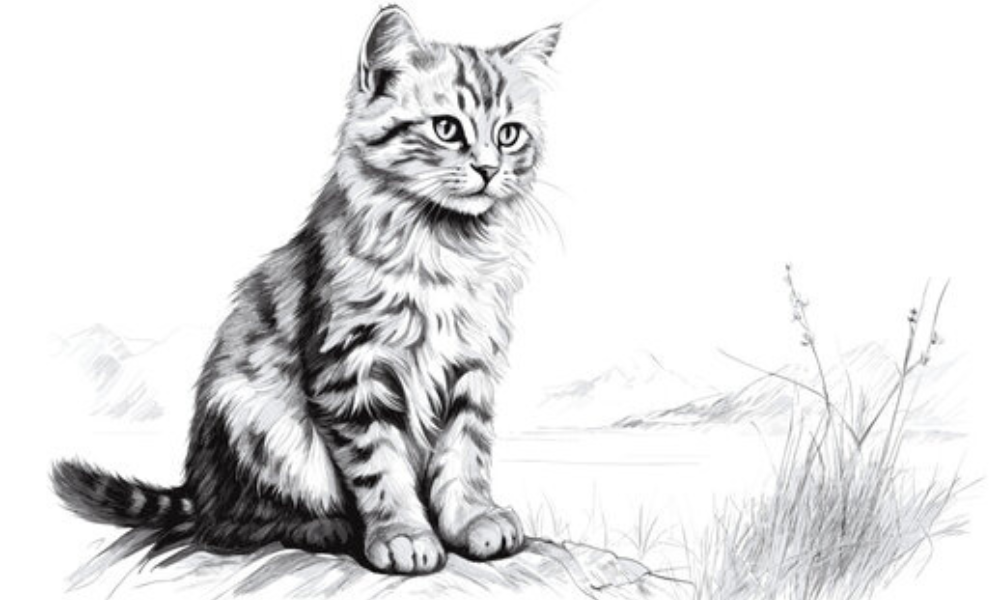
Sketching a cat can be a delightful and rewarding experience, whether you’re a budding artist or someone looking to improve your drawing skills. Cats, with their graceful lines and charming features, make for excellent subjects. In this step-by-step guide, we’ll walk you through the process of sketching a cat, from basic shapes to the final details.
Materials You’ll Need
- Paper: Any kind will do, but smoother paper is often preferred for sketching.
- Pencil: A range of pencils (H, HB, 2B, 4B) can be useful for different levels of shading.
- Eraser: A kneaded eraser is great for precision work.
- Blending Stump: Optional, for smooth shading.
- Reference Image: A photo of a cat can help with accuracy.
Step 1: Basic Shapes and Proportions
Start with light, simple shapes to outline the cat’s body. This stage is crucial for getting the proportions right.
- Head: Draw an oval shape for the head. Cats have slightly elongated heads, so make it slightly taller than wide.
- Body: Draw a larger oval or a rounded rectangle for the body. Place it below and slightly to the right of the head.
- Guidelines: Sketch a vertical line down the center of the head oval and a horizontal line across the middle. These will help you place the facial features accurately.
- Limbs: Add basic shapes for the legs and paws. Use simple lines and circles to indicate joints and the general position of the limbs.
Step 2: Refining the Head and Face
- Ears: Draw two triangles on top of the head oval for the ears. Cats have pointed ears that are slightly angled outward.
- Eyes: Along the horizontal guideline, draw two almond-shaped eyes. The eyes should be about one eye-width apart.
- Nose: Draw a small triangle at the center of the face, slightly below the eyes. The nose should be narrow at the top and wider at the bottom.
- Mouth: Sketch a small line extending down from the bottom of the nose. From the end of this line, draw two curves extending outward to form the mouth.
- Whiskers: Lightly sketch a few lines extending from the sides of the nose.
Step 3: Outlining the Body
- Neck and Shoulders: Connect the head to the body with two curved lines to form the neck. Draw the shoulders slightly wider than the neck.
- Legs: Refine the shapes of the legs, making them more detailed. Cats have slim and agile legs, so keep the lines smooth and tapered.
- Paws: Draw the paws as small ovals or circles at the ends of the legs. Add small lines to indicate the toes.
- Tail: Sketch the tail as a long, curved line extending from the back of the body. The tail should be smooth and slightly tapered at the end.
Step 4: Adding Details
- Fur Texture: Lightly sketch short, quick strokes along the outline of the cat to indicate fur. Follow the natural direction of the fur growth.
- Eyes and Pupils: Add more detail to the eyes by drawing the pupils and the reflective highlights. Cats’ pupils can be slit-like or round depending on their mood and lighting.
- Nose and Mouth: Refine the shape of the nose and mouth, adding more detail to the nostrils and the lips.
- Whiskers: Darken the whiskers and add more if necessary. Whiskers should be long and slightly curved.
Step 5: Shading and Final Touches
- Shading: Use a softer pencil (like a 2B or 4B) to add shading to your cat drawing. Start with the areas that are naturally darker, such as around the eyes, under the chin, and along the sides of the body.
- Blending: Use a blending stump or your finger to smooth out the shading. This will give your cat a more realistic appearance.
- Highlights: Leave some areas white or lightly shaded to create highlights. These are usually found on the top of the head, the nose, and parts of the fur.
- Final Details: Go over your drawing and add any final details. Darken the outlines if necessary and add any small touches that will bring your cat to life.
Tips for Success
- Patience: Take your time with each step. Rushing can lead to mistakes and frustration.
- Observation: Study your reference image carefully. Pay attention to the shapes, proportions, and details.
- Practice: Sketching cats, like any other skill, improves with practice. Don’t be discouraged by initial attempts.
- Variation: Try drawing cats in different poses and from different angles to challenge yourself and improve your skills.
Conclusion
Sketching a cat can be a fun and rewarding activity, offering a chance to practice your drawing skills and create a charming piece of art. By breaking down the process into simple steps and focusing on basic shapes and details, you can create a realistic and appealing cat sketch. Remember, practice is key, so keep sketching and enjoy the process of bringing your feline friends to life on paper.
Happy drawing!


